
Hot Topics


Latest Articles

Alfa Insurance: Comprehensive Coverage for Your Peace of Mind
When it comes to protecting your valuable assets, having comprehensive insurance coverage is essential. That's where Alfa Insurance comes in. As a trusted insurance provider, Alfa Insurance offers a range of policies tailored to meet...
Read more
MyFedLoan: Understanding and Managing Your Student Loans
When it comes to managing your student loans, having the right resources and support is crucial. MyFedLoan is a trusted loan servicing company that specializes in helping borrowers navigate their federal student loans. Whether you're...
Read more
72Sold Reviews: Revolutionizing the Way You Sell Homes
Welcome to the future of home selling with 72SOLD! Selling a home has never been easier or more efficient thanks to their innovative approach. Gone are the days of waiting months for the right buyer...
Read more
Net Pay Advance: Understanding Your Quick Cash Solutions
In times of financial emergencies, finding quick cash solutions can be a lifeline. That's where Net Pay Advance comes in. As a trusted online lending platform, Net Pay Advance offers small payday loans to individuals...
Read more
CreditFresh: Empowering Financial Health with Innovative Solutions
CreditFresh is a reputable financial institution that focuses on empowering individuals to achieve financial well-being. With their innovative solutions, they offer flexible personal credit lines designed to meet the diverse needs of their customers. Whether...
Read more
Amazon Hub Counter: Your Ultimate Guide to Convenient Package Pickup
Welcome to our ultimate guide to Amazon Hub Counter, a convenient solution for package pickup. Say goodbye to missed deliveries and the need to wait at home for your packages. With Amazon Hub Counter, you...
Read more
SpotLoan: Your Go-To Guide for Understanding This Payday Loan Alternative
SpotLoan, the flexible alternative to traditional payday loans. In this article, we will provide an in-depth overview of SpotLoan, explaining how it works and why it may be the right choice for your financial needs....
Read more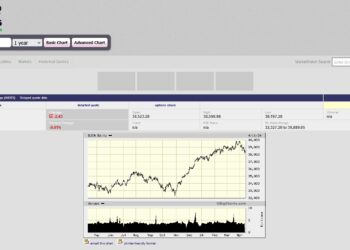
BigCharts: A Comprehensive Guide to Charting Your Stock Market Success
Welcome to our comprehensive guide on BigCharts, the ultimate charting platform for achieving stock market success. Whether you're a seasoned investor or just starting your journey, BigCharts offers a wealth of features and tools to...
Read more